PngText
AI image Generator editing

Image to Image

An image to image tool that reworks an existing picture from a written instruction while keeping the subject, pose, and layout where they are.

The photo stays the base

Image to Image

Image to image keeps the picture you upload as the starting point. Rather than inventing a scene from a sentence, the tool reads what is already there, the pose, the framing, the objects on the table, and changes only the parts you name: style, light, surface, mood. That anchor is why the result still looks like your shot instead of a stranger's.

  • Carries the original pose, framing, and subject into the result
  • Takes a written instruction rather than a stack of sliders
  • Swaps style, light, or surface without redrawing the scene
  • Accepts a photograph, a sketch, or a rough render as input
One photograph beside its restyled version with the pose and framing unchanged

Image to Image

Beginning with a picture, not a blank page

The uploaded frame is the input; the words only steer it.

What sets image to image apart is the anchor. The pages below cover how much of the original a tool tends to keep, which instructions change the most for the least disruption, and where pushing too hard breaks the likeness you started with.

One photograph split into an outline layer holding pose and edges and a color layer holding texture and tone

Image to Image

What survives and what gets redrawn

Two layers travel through an image to image run. The structure layer holds the pose, the composition, the edges of objects, and the direction of the light. The appearance layer holds color, texture, and rendering style. Most tools preserve the first and rewrite the second, which is why a portrait keeps its tilt of the head while its skin becomes oil paint. Knowing which layer your goal belongs to is the whole trick, because asking the appearance layer to do a structure job produces mud.
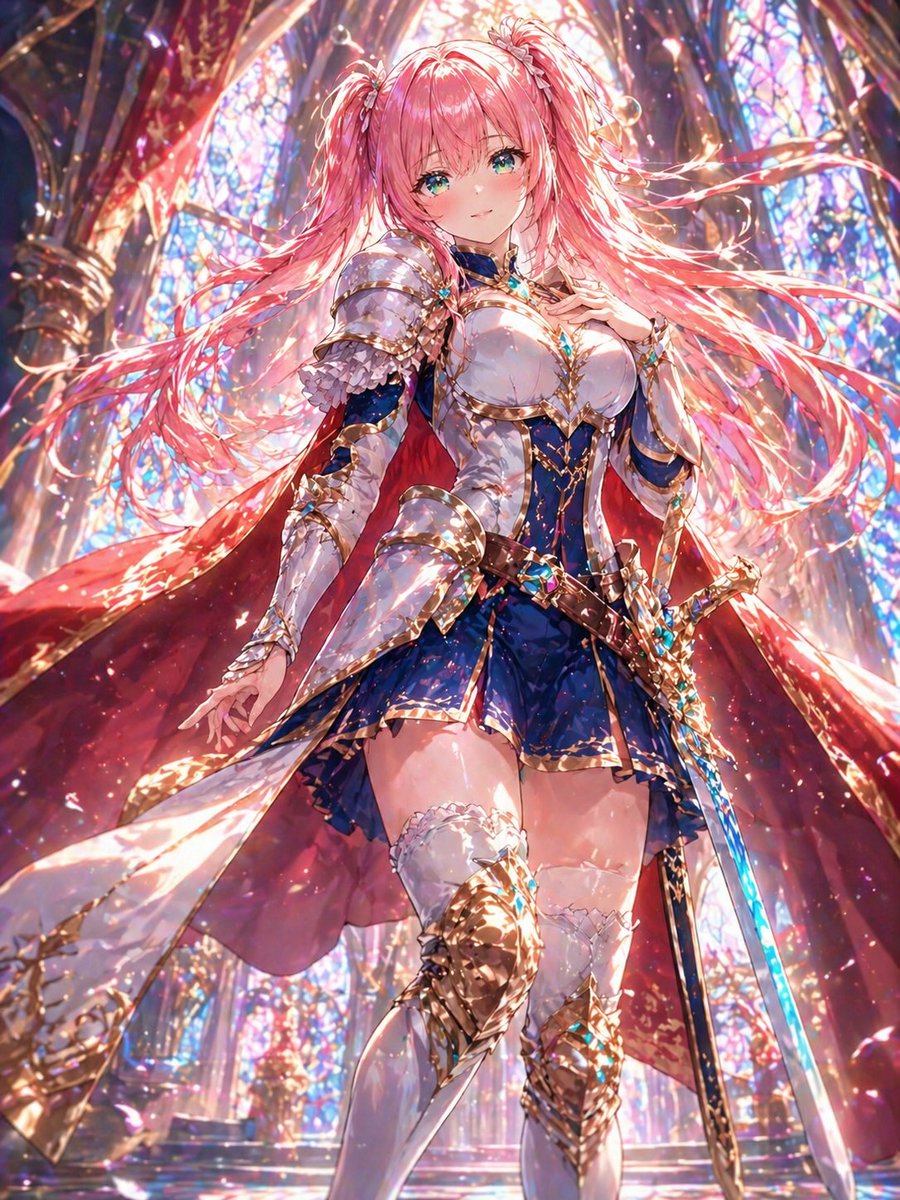

A short typed instruction beside an arrow leading to a restyled version of the same photograph

Image to Image

Words as the steering wheel

A text box is the main control. Naming a medium, a period, or a light direction moves the result far more than a string of adjectives, because each names a property the model can act on. Two or three specifics usually beat a paragraph. The habit worth breaking is describing what is already visible; the tool can see the subject, so repeating it wastes the instruction on something that needed no change.

The same portrait shown at four ascending strengths from barely altered to almost fully repainted

Image to Image

How far to travel from the original

Every image to image tool has a setting for how much it may deviate, and it is the one worth learning first. Turned low, the picture is barely touched: grain is cleaned, color is nudged, the file is simply a better version of itself. Turned high, the same frame reappears in a new medium, and past a certain point the subject starts to dissolve into it. Small steps keep a face recognizable; a single large jump tends to lose it.

A product photo kept in place while its surface and lighting are replaced around it

Image to Image

Where it beats starting from words

Text to image is the right call when nothing exists yet. Image to image wins when you already have the shot and only want it changed: a product photo moved onto a marble slab, a dull afternoon relit as golden hour, a client's own photograph rendered in a house style. Composition is expensive to describe and cheap to inherit, so any time the arrangement matters more than the novelty, handing over a picture is the shorter route.

A sequence of gentle successive renders of one portrait, each fed back in as the next starting frame

Image to Image

Rescuing likeness after a strong pass

When a heavy restyle drifts, the cause is usually that the structure layer was overwritten along with the appearance. Two remedies work. Run the tool in smaller steps, feeding each result back in as the next base, so the subject is re-anchored every time. Or reduce the change to the single element you care about, a background or a color cast, and leave the subject untouched. Chaining gentle passes keeps an image to image render close to the person in the frame.

A soft low-resolution base image beside the sharper restyled result produced from a cleaned-up version

Image to Image

The base sets the ceiling

Resolution on the way in limits what comes out. A small, soft, or noisy source photo reads as small, soft, and noisy even after restyling, because the tool has no detail to work with. Sharpening and enlarging the input first, or starting from a larger file, gives the appearance layer something to paint on. Cropping tight before uploading also helps, since a distant subject leaves most of the frame as empty background for the model to fill with guesswork.

One photograph restyled into illustration, night lighting, a new surface, and a colored sketch

Image to Image

A short list of things it does well

Restyling a photo into illustration, watercolor, or film stock. Relighting an interior shot to a different time of day. Replacing a product's surface while its shape stays exact. Turning a pencil draft into a colored concept. Building the same scene at several seasons or moods from a single frame. Each of those keeps structure and varies appearance, which is the narrow band where an image to image pass reads as convincing rather than as a filter.

Image to Image

What the image to image tool gives you

Controls that decide how much of your photograph comes back.

Your frame as the input

The upload is the composition, so the pose, crop, and object placement arrive already solved. Nothing has to be described in words that the picture can state on its own.

One instruction field

Changes are named in a short line rather than dialled in across a panel. Specifics about medium, light, or material move the result; adjectives about quality rarely do.

A strength dial

Slide toward the original for a gentle cleanup, or away from it for a full restyle. Keeping the number low is what preserves a recognizable face through the pass.

Structure held in place

Edges, silhouettes, and light direction are retained while color and texture are rewritten. That division is why a reshoot is not needed for a new look.

Selective scope

The change can be limited to a region, one object, or the background alone. Narrowing the target keeps an image to image edit from spilling onto parts that were fine already.

File back at full size

Results save at the resolution they were rendered in, ready for print, a listing, or a client deck. No layered project file is needed to keep using the output.

Image to Image

Running an image to image pass

Four moves from an existing photo to a changed one.

1

Pick a clean, sharp original

Choose the sharpest frame you have and crop close to the subject. Detail in the source is the detail the result can carry.

2

Say what should change

Name the medium, the light, or the surface in one short line, and stop there. Repeating what is already visible leaves less room for the change you want.

3

Keep the strength low first

Run a gentle pass and look at whether the subject still reads as itself. Raising strength in small increments is safer than starting at the top.

4

Feed the result back if needed

Use the output as the base for a second small pass when you want to travel further. Chaining keeps the structure anchored at every step.

Image to Image

Image to image questions

Anchors, strength, and what tends to go wrong.

What does image to image mean?

It means the tool starts from a picture rather than a description. Your upload supplies the composition and the subject, while a written instruction directs what about it should change, usually its style, lighting, or surface.

How is it different from text to image?

Text to image builds everything from words, so the arrangement is left to chance. Image to image inherits the arrangement from your file, which is why it is the better route when the pose, crop, or object placement matters and only the look should move.

Why does my subject stop looking like itself?

Strength was set too high, so the structure layer was rewritten along with the appearance. Lower the amount of change, or make two gentle passes instead of one large one, and the likeness usually returns.

Can I keep the background and only alter the subject?

Yes, if the tool allows the change to be scoped to a region. Naming the target rather than the whole frame keeps the untouched areas from being repainted by accident.

Does the source photo have to be high quality?

It should be as sharp and as large as you can manage. A soft or small source caps how much texture the result can show, and no amount of restyling invents detail that was never captured.

Will a product photo stay accurate?

Shape and layout hold, but color and material are the layers an image to image pass is designed to rewrite. For a listing where the exact finish must match, keep the change to lighting and background rather than the product surface.

Are sketches and renders accepted?

They work as well as photos, and often better for concept work. A rough render or a pencil draft gives the structure layer a clean skeleton, and the appearance layer is then free to decide the look.